

Items 0
Total Price
Loyalty Points
Framing a cherished photo is a brilliant way to preserve memories, beautify your surroundings, and exhibit your artistic taste. However, one major aspect of this creative process is accurately measuring the picture for its perfect frame. It might seem like a simple task, yet a few important steps need to be followed to avoid common pitfalls and choose the right frame to complement your photo.
Start by deciding on the desired framing style for your picture, selecting from a variety of designs including borderless, matting, and shadowbox formats. The chosen style influences the measurement technique employed, dictating the required details such as the picture's dimensions, and the dimensions of its matting and mounting areas. It's vital to be precise at this stage to guarantee the ideal fit for your photo, ensuring its safety and showcasing its full potential.
With the framing style in mind, grab a measuring tape, a straight edge, and a pen or pencil for making notes and markings. These tools will aid in ascertaining the correct dimensions, avoiding mishaps like achieving a tight fit or an unintentional crop of the image.
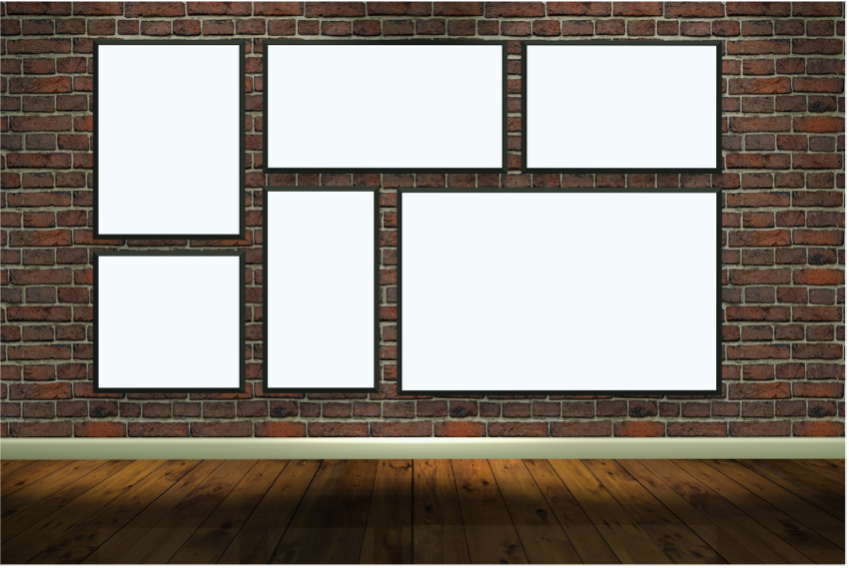
When it comes to selecting a picture frame, understanding the different sizes is very important. In this section, we'll discuss three key aspects: External Size, Internal Size, and Mounting Sizes. By grasping these concepts, you'll be well on your way to framing your photos and artwork perfectly.
The external frame size refers to the entire frame's dimensions, including borders and edges. This measurement is crucial when considering the available wall space or surface area for displaying your framed picture. To determine your frame's external size, start by simply measuring the width and height of the outside edges. Here's a table that highlights some common external frame sizes:
| External Frame Size (in inches) | Width | Height |
|---|---|---|
| 4x6 | 4 | 6 |
| 5x7 | 5 | 7 |
| 8x10 | 8 | 10 |
| 11x14 | 11 | 14 |
Remember, these are just examples, and custom frame sizes can be crafted to fit your specific needs. It is also important to remember that you need to enter the size of your artwork into our website and the sizes are calculated starting from the inside. The external frame size isn�t detailed on our website during the design process as it is based on the important measurement � the size of your artwork, and then the selections you make.
Internal size, also known as inside dimensions, is the measurement of the space within the frame where your picture will be placed. This is the space where the glazing, prepared artwork and backing board will fit. It's important to ensure that the internal size matches your prepared artwork, including any mounting, with a small tolerance for fitting purposes. To find the ideal internal dimensions for your picture, measure its height and width. Keep in mind that bespoke frames can be made to accommodate unconventional sizes.
Mounting plays a significant role in both aesthetics and protection for your artwork. In addition to creating visual separation between the artwork and the frame, mounting prevents the picture from touching the glazing directly, which can cause damage over time. The mount can be cut to fit exactly around the picture or have a varying width depending on the desired appearance. Here is a bulleted list to help you choose matting dimensions:
In this section, we will discuss items needed to accurately measure a picture for a frame. Acquiring the proper measurements is an important step, so make sure you have the right tools to get the job done. We'll be focusing on two main tools: the types of tape and frame calculators.
The most used tape for measuring is a retractable metal tape measure. Its flexibility allows it to easily conform to the edges of the artwork, making it a great option for measuring. It often has both metric and imperial units to cater to various preferences. However, there are alternatives depending on the situation:
Note: When measuring your artwork, please remember to read our measuring advice for helpful tips.
A frame calculator is a useful digital tool designed to simplify the entire process of selecting the perfect frame size. After inputting your artwork�s measurements, it will provide you with the appropriate frame size and suggest optional mounts.
This tool is an excellent resource for amateurs and professionals as it eliminates guesswork and potential errors. Frame calculators can be found on our picture frame and mounts page.
To measure your picture accurately, follow these simple steps:
Pro tip: Measure the dimensions twice to confirm the accuracy of your measurements, and write them down.
Including a mount can enhance the aesthetics of your framed picture. To measure for a picture mount, you still need to measure the image size of your artwork that you want to see artwork, our website will make the calculations for you. Follow these instructions:
Note: Remember that the default option on our website if for the picture mount to overlap the edges of your image size entered by 3mm on each side to hold it in place.
The frame rebate is the inner edge of the frame where the picture and mount sit. Understanding the frame rebate will help you choose the right custom picture frame for your piece. To frame rebate for each frame style is detailed on our website.
Now you're all set for choosing or ordering the perfect custom picture frame to commemorate and protect your cherished picture!
When it comes to framing a picture, there's more to consider than just the dimensions of the artwork. Choosing the right frame can accentuate the beauty of your piece while keeping it well-protected. This section will guide you through selecting the best frame for your needs by discussing custom frames, standard frame sizes, and replacement frame considerations.
Opting for a custom frame offers the most flexibility in terms of style and design. Custom picture frames can be made to fit your artwork's exact dimensions, ensuring a perfect fit. When selecting a custom frame, be sure to consider:
Standard frame sizes are pre-made and readily available at most retailers. They come in a variety of dimensions and styles, making them a more affordable and accessible option for framing. However, standard frames may not accommodate the exact dimensions of your artwork. Some common sizes include:
| Picture Size | Frame Dimensions |
|---|---|
| A4 (210 x 297mm) | 8 1/4 X 11 3/4" |
| A3 (297 x 420mm) | 11 3/4 X 16 1/2" |
| A2 (420 x 594mm) | 16 1/2 X 23 3/8" |
| A1 (594 x 841mm) | 23 3/8 X 33 1/8" |
To find the best fit for your picture, measure the length and width of the artwork and compare it to the standard frame sizes listed above. Please note, EasyFrame do not sell any ready-made picture frames. Everything we manufacture is custom-made to order.
If you're looking to replace a frame for an existing artwork, there are a few factors to consider:
After measuring your picture and selecting the right frame, there are a few important steps to consider for finishing touches and proper protection of your artwork.
The backing board plays a significant role in the stability and preservation of your print. Selecting the appropriate backing material can help protect your picture from damage caused by moisture, dirt, and pollutants. Here are some popular backing board options:
Remember, always consider the artwork size when choosing the backing board to ensure a proper fit and protection.
Another element to consider is the glazing that covers the front of your framed print. Glazing options help shield your artwork from harmful UV rays, dust, and scratches. Here's a comparison of popular glazing options:
| Glazing Option | Highlights |
|---|---|
| Glass | Traditional choice; affordable and easy to clean but can be heavy and may cause glare |
| Acrylic | Lightweight; durable; UV and shatter resistant; preferred for larger pieces |
| Non-glare | Reduces glare but can cause slight image distortion |
| UV-protective | Blocks up to 99% of UV rays; more expensive but offers the best protection |
In some cases, it may be wise to consult a frame designer for expert advice and guidance on the best way to mount and display your picture. This can help you to:
Following these tips will help ensure your framed photo is displayed to its fullest potential, allowing you to enjoy it for years to come. With some careful planning, the right frame and mount, and proper hanging techniques, you can create a stunning visual centrepiece for any room.
Easyframe specialise in offering a diverse range of frames that cater to your preferences and needs. With their extensive experience in the industry, they can provide you with expert advice on selecting the perfect frame for your artwork. Whether you're looking to purchase a frame or just seeking some guidance, you can easily reach out to Easyframe via phone at 01234 856 501 or email at sales@easyframe.co.uk. They are always willing to chat with you, even if you're not interested in making a purchase.
Article Posted: 23/04/2024 10:33:22